
Have you ever imagined making homemade mini pita bread so soft and delicious they’ll make your mouth water? Well, here is the perfect recipe! These small pita pockets are perfect for stuffing with your favorite fillings, and they are so simple to make that you’ll be surprised. Plus, they freeze beautifully, so you can make a big batch ahead of time and always have them on hand for quick snacks or meals.
Ingredients for Mini Pita Bread:
- 4 cups all-purpose flour (approx. 500g)
- 1 ½ tsp instant dry yeast
- 2 tsp salt
- 1 ½ tbsp granulated sugar
- 1 ¼ cups water (cold or room temperature)
- 1 ½ tbsp extra-virgin olive oil
How to Make Mini Pita Bread:
- In a large bowl, whisk together the flour, instant yeast, salt, and sugar.
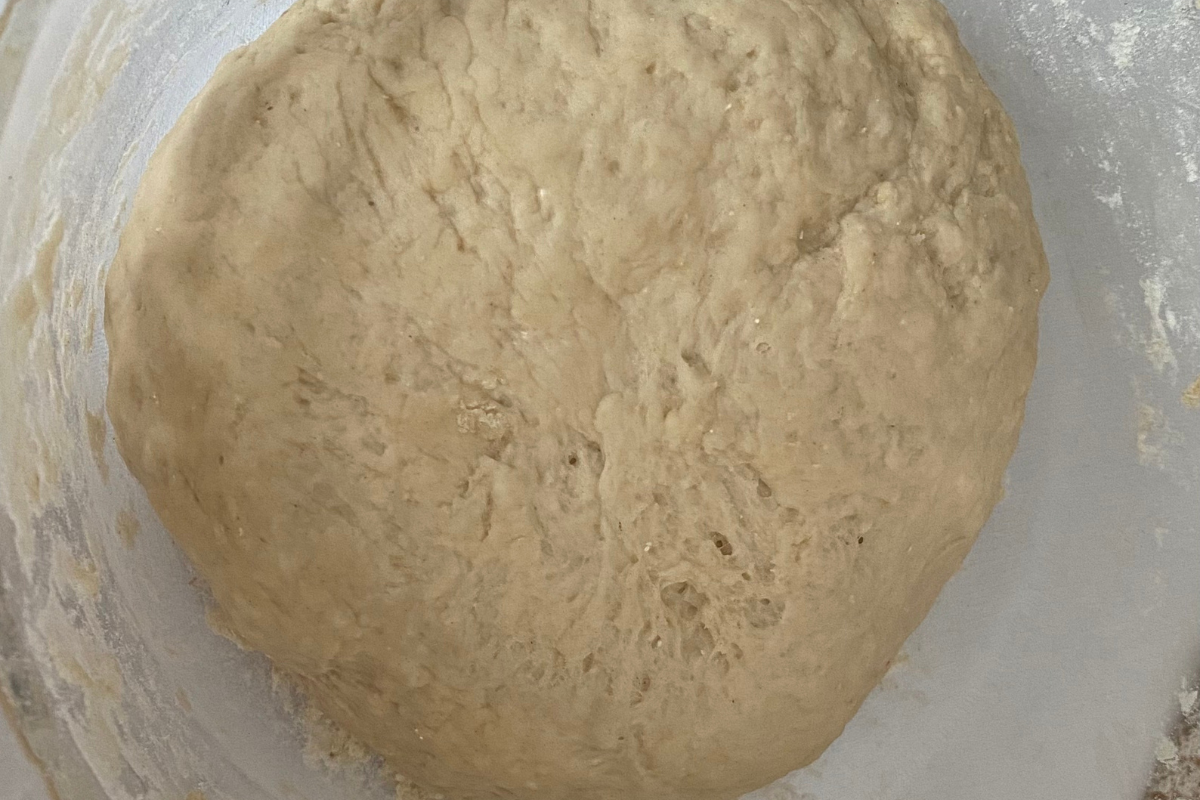
- Add the water and olive oil, mixing well until a smooth dough forms.
- Knead the dough for about 5 minutes, until it becomes smooth and elastic.
- Shape the dough into a ball, cover it, and let it rest for 15 minutes.

- Divide the dough into 12 equal portions and roll each into a small ball.
- Cover the dough balls and let them rise for 30 to 60 minutes at room temperature, or store them in the refrigerator to bake the next day.
- Preheat your oven to its highest temperature, about 475°F–500°F (approx. 250°C).
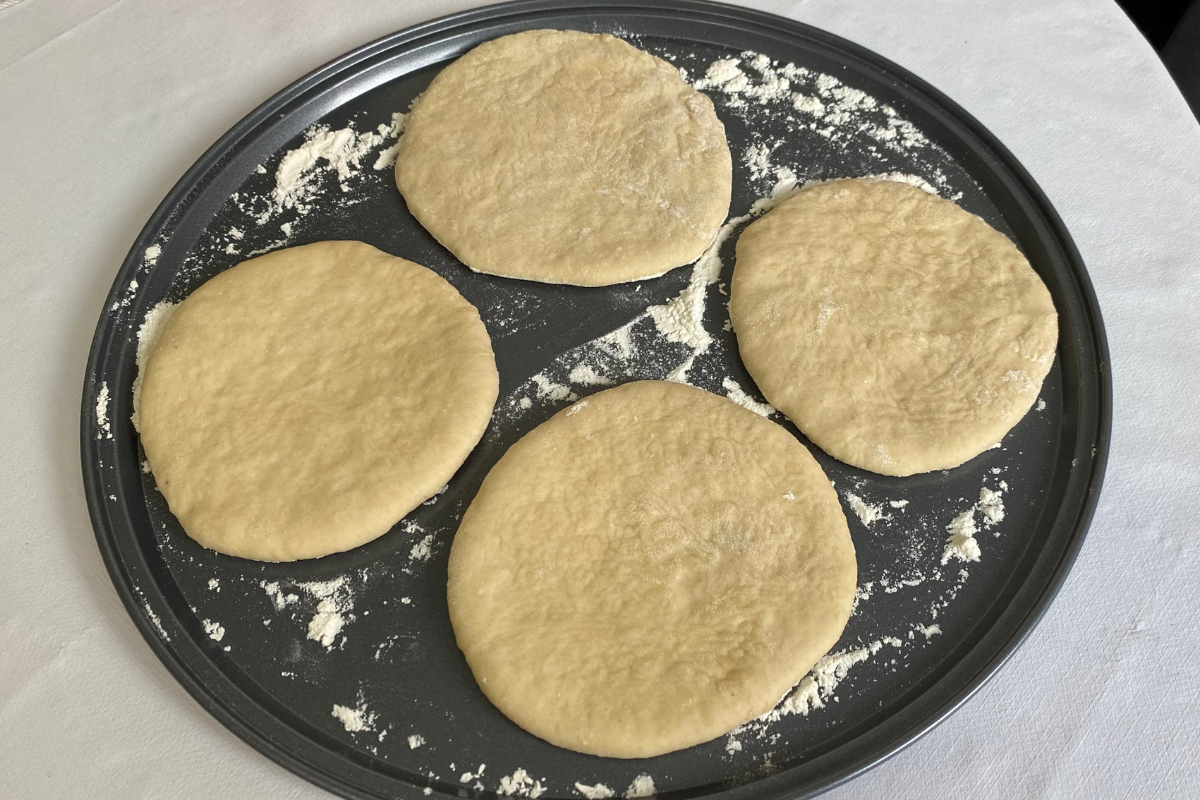
- On a lightly floured surface, roll out each dough ball into a disk about 4.7 inches (12 cm) in diameter and 1/5 inch (5 mm) thick.
- Transfer the dough disks to a lightly floured baking sheet and cover with a clean kitchen towel. Let them rest for another 15 minutes.
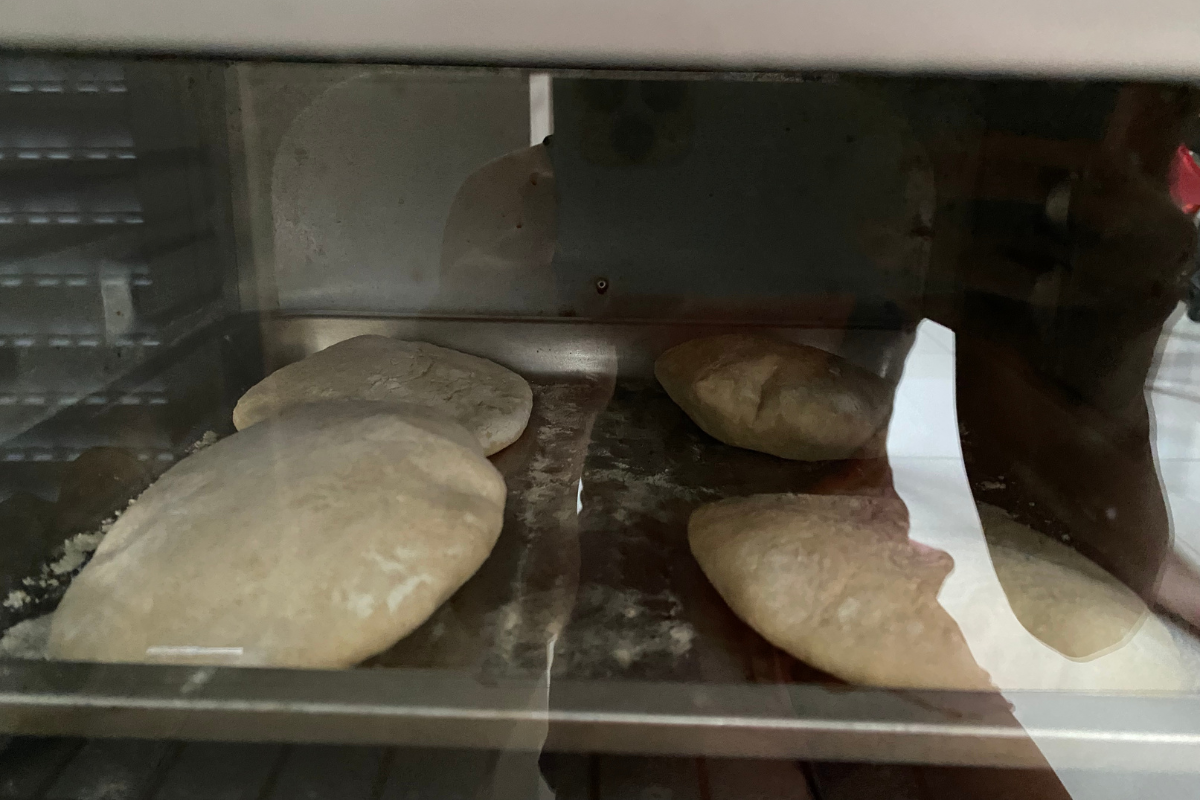
- After resting, bake the pita disks in the preheated oven for 5 minutes, or until they puff up and are lightly golden.
- Remove the mini pitas from the oven and wrap them completely in a clean kitchen towel, taking care not to crush them.
- Let them rest for 30 minutes, and they are ready to enjoy!


Pro Tip:
For best results, use a kitchen scale to divide the dough into equal portions. This ensures the pitas are uniform and bake evenly. When shaping the dough balls, make sure to tuck the seam side down; this prevents the dough from drying out and ensures a soft, flexible texture.
Prep time and Yield:
The total preparation time for these Mini Pita Breads is approximately 1 hour, including proofing and shaping. This recipe yields 12 mini pitas, perfect for quick snacks and delicious fillings.
Fun Fact:
Mini pita bread is a charming, compact version of the classic pita, perfect for serving as appetizers or sides for any occasion. Their soft, flexible texture makes them ideal for filling with a variety of ingredients, from cheeses and hummus to grilled meats and vegetables. They are a practical and versatile addition to your meal rotation.
With this simple, practical recipe, you can enjoy the authentic taste of homemade mini pita bread whenever you crave it. Give it a try and be amazed by the results!
Now that you know all the secrets to preparing delicious Mini Pita Bread, it’s time to roll up your sleeves and try this incredible recipe.
Did you like this article? Keep following our blog for more tips and delicious recipes. Don’t forget to share this with your friends and family so they can also enjoy these homemade delights. See you next time!